Single Tooth Crown Replacement

Hey Everyone!  Dr. Jennifer here!  I’m back today with a before and after feature for our blog post!

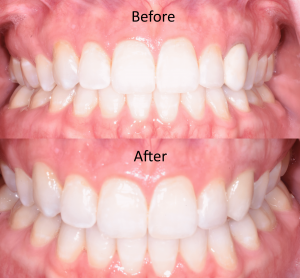
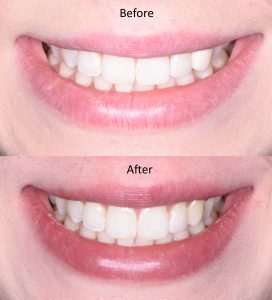
Our featured patient today is near and dear to our heart, our lovely assistant Katie!!  Katie got married September 24, 2016.  She approached us in preparation for her wedding smile.  Katie had a crown on her left canine (#11) that she wasn’t really happy with the way it looked.  She stated that it stood out, and didn’t blend in with her other teeth and had a grey line at the gum tissue.  She was afraid we wouldn’t be able to make it blend and improve her smile.

For all my dental nerds out there, let’s all agree on how difficult it is to do ONE unit in the aesthetic region and get a perfect match.  Oh wait! It’s IMPOSSIBLE!  But it is possible to get a near perfect match.  And that is what we mentally prepared Katie for, as close to perfection as humanly possible.

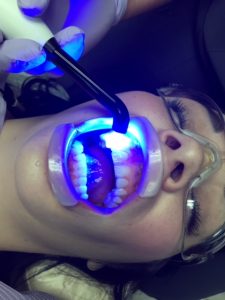
If you are ever preparing for restorations in the smile zone, you should plan at least 4 weeks out if you desire to whiten prior to your dental work to achieve a brighter smile.  I had Katie whiten her teeth for two weeks, followed by two weeks of rest time to allow the new tooth color to stabilize before moving forward with her permanent restoration.

After the tooth color was stabilized, we began by removing the old crown.  The first thing we found was the very dark, stained tooth that remained.  We knew we needed to mask this color, but we did not want to use any metal.  This made our decision to use a Porcelain fused to Zirconia (PFZ) crown for her replacement.  We also dropped the margin of the crown below the gum line to anticipate any possible recession of the gum tissue due to manipulation.  Before we continued with a temporary crown we took photos to send to the lab to get the best color match possible.

For those of you that know me, it won’t come as a surprise that I am a perfectionist.  So when Katie’s crown came back from the lab, and I wasn’t thrilled with the color, we tried again.  We took more photos and spent time on the phone with the ceramist at the lab to describe the characteristics of her teeth to achieve the best result. Every case is a learning experience, and I definitely learned a few things with this one.  The more photos, the more description you can provide, the more likely that you will achieve the result you want.

When the crown came back from the lab the second time, I was ecstatic with the result (and so was Katie!) I am so excited that my team and I were able to accomplish this great result before her big day!

Check out the before and after photos below.  If you are concerned with an area of your smile, call us and schedule an appointment with me.  I can’t wait to meet you and help you create your best smile!
ba-11-2 ba11


Dr. Jennifer’s latest DIY project

Hello Everyone!! Dr. Jennifer here.  We have been trying to make this blog helpful and fun, and were going to make some changes, so bear with us.  The first change is going to be our content.  We realize that there is life outside of the dental world and we want to share ours with you.

Today I thought I’d hit the ground running with our new content goal and share a little about my project weekend.   As some of you already know, my husband and I are serial DIYers.  One project after the next over the last year and a half to revamp our house to feel like a home.

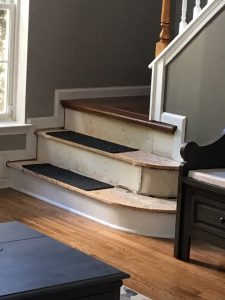
When we moved in, we had white carpets and wood floors.  Now I don’t know about you, but white carpet and I do not mix.  I couldn’t wait to replace some of the carpet with wood floor.  In February, we did just that.  But then we ran into a hiccup (as all house projects usually do), and the floor installers could not finish our staircase because the bottom two steps were too custom! Needless to say, we have been living life since February like this.

img_2127

I bought an outdoor rug, cut it in half and
used some velcro command strips to prevent
splinters on our bare feet.


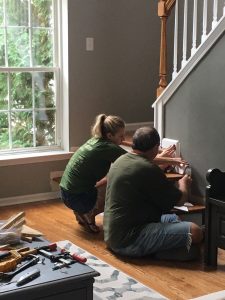
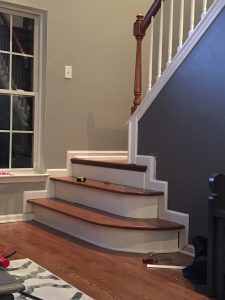
We contemplated hiring a custom contractor and woodworker but decided to tackle the project ourselves with a little lot of help from my father.  On Thursday last week, my dad packed up his car with all the tools that we don’t own and made his way from West Virginia to Cornelius.  We spent all weekend installing our new steps, and let me tell you, it was hard.  We started with demo, then tried everything in, spent a lot of time watching stain dry, and ended the weekend with trim.  I have to say I loved geometry, but trim is a different world of angles and measurements I have never had to deal with.  Luckily my dad is a genius, and made it work.  We still have some caulking, painting and touching up to finish, but we are so excited to have stairs after seven months of plywood!

Check out our photos of our project.

image1

image3image6


Invisalign

IMG_0252

We now offer Invisalign!

What is Invisalign?

Custom trays created only for you to re-align your teeth to create your perfect smile.

Is it covered by insurance?

Depends on patients policy. Invisalign is considered an orthodontic treatment. Please check with your insurance benefits for your coverage.

Getting Started…What happens first?


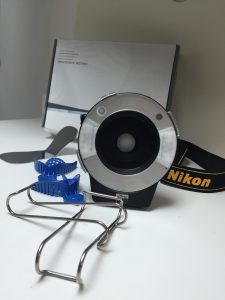
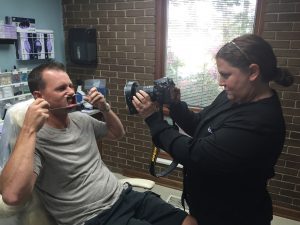
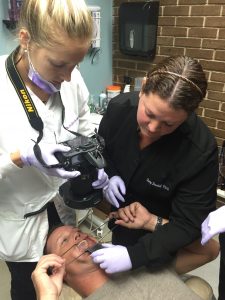
  1. Take Photos! This step allows us to take a series of photos, that allows Invisalign to create a customized plan. Dr. Jennifer will work closely with Invisalign to create the precise treatment plan, that will include the movement of the teeth, also estimating the length of treatment. IMG_0303IMG_0283
  2. Taking impressions.  We are happy to introduce our Digital Impression Machine for the use of Invisalign Impressions.  This will consist of a digital scan of your teeth and will speed up the process with Invisalign since the scans are sent digitially!
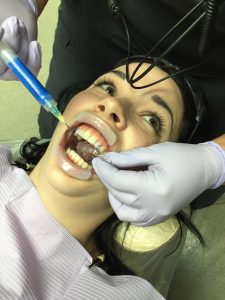
  3. Attaching the Attachments- once your clear aligners come in. You will be scheduled for you attachment appointment. Our dental assistants will place your attachments which are little tooth colored buttons that help the trays put force of different teeth, this appointment will last about 1 hour. IMG_0043IMG_0454
  4. Every 2 weeks, you will change to a new set of aligners, this advances your treatment to the next stage.
  5. After the last aligner is in place.  We will remove the attachments and evaluate your results.  If you are completely satisfied with your new smile we will make retainers for you to take home and wear to keep your smile in place.  If there are a few areas we still do not love, we often do a revision and take new impressions to correct those areas.

Once treatment is complete you will be on your way to a healthier happier smile.